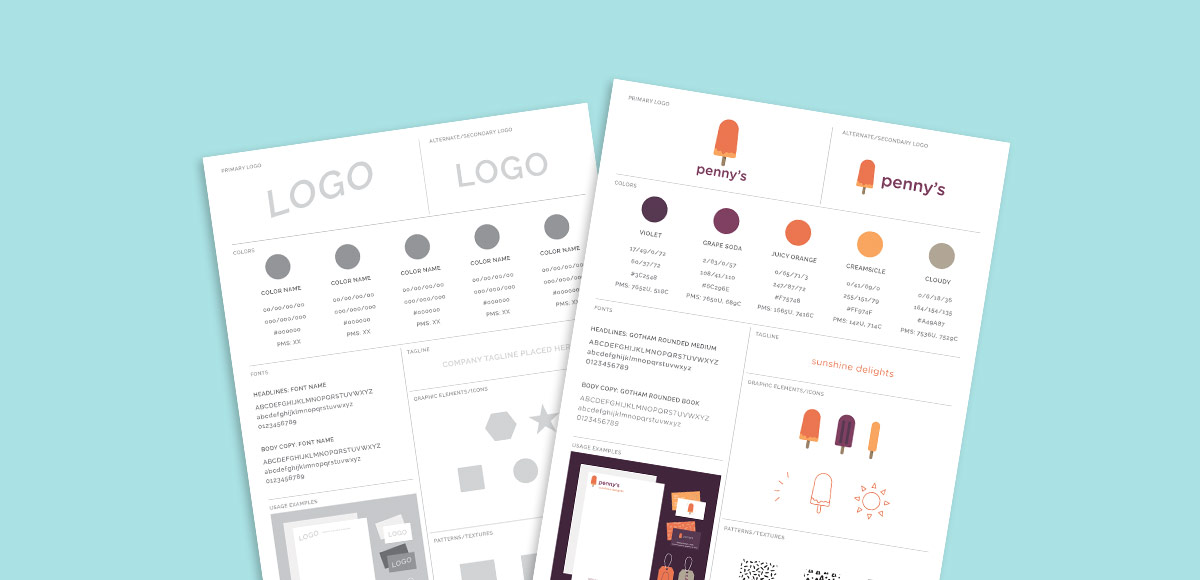
Freebie: Brand Style Guide Template
A brand style guide template… When I worked at a design studio, we called this the ‘systems page’ for each brand’s identity standards. We also called all of the graphic elements the brand’s VIS, or visual identity system. I’ve seen (online, anyway), it’s commonly referred to as a brand style guide, so we’re using that for this post. (Feel free to use your favorite term, they’re all relevant. 🙂 )
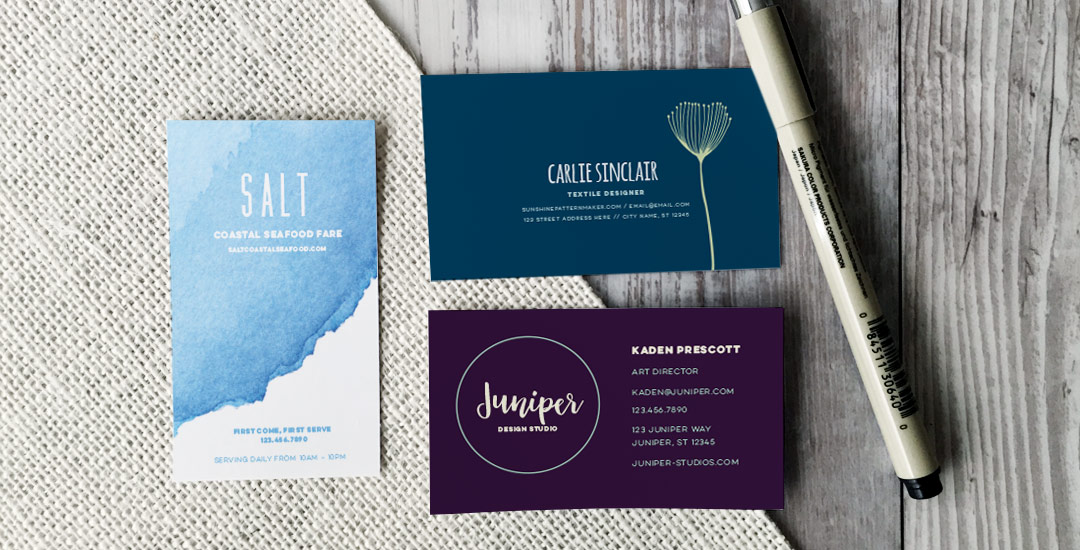
A brand style guide is basically this: a brand board template of all visual elements (including primary logo/ secondary logo) that comprise a brand’s unique presence and aesthetic to the public. It’s what makes a brand get noticed, helps them to stand apart from their competitors, and creates the feeling(s) they wish to communicate visually. If/when you’re tasked with creating a brand’s identity, this page will be handed as branding template to all other designers to use that ever work on the brand. It’s a series of branding templates & guide to keep a brand’s look – colors, fonts, patterns, etc. consistent across all applications.
So yep, pretty handy little template to have 🙂