HomePosts Tagged "video" (Page 3)

video Tag

I’ve somehow always been drawn to really beautiful design on smaller items. It might just be the cuteness factor, but serious planning goes into hierarchy and layout in such a small space, and that has always been really impressive to me. Do you ever check what the clothing tags look like when you’re shopping? I remember the first time I ever obsessed over a clothing tag. It was when I was in high school and at the mall with friends (I probably should have known a career in design was imminent at that moment). Anyway, I wasn’t in love with whatever article of clothing it was (see? I can’t even remember that part!) but I loved that tag, so I bought it anyway (in my defense, I’ll also note this was before cell phones with cameras). Roll your eyes if you must. 😉

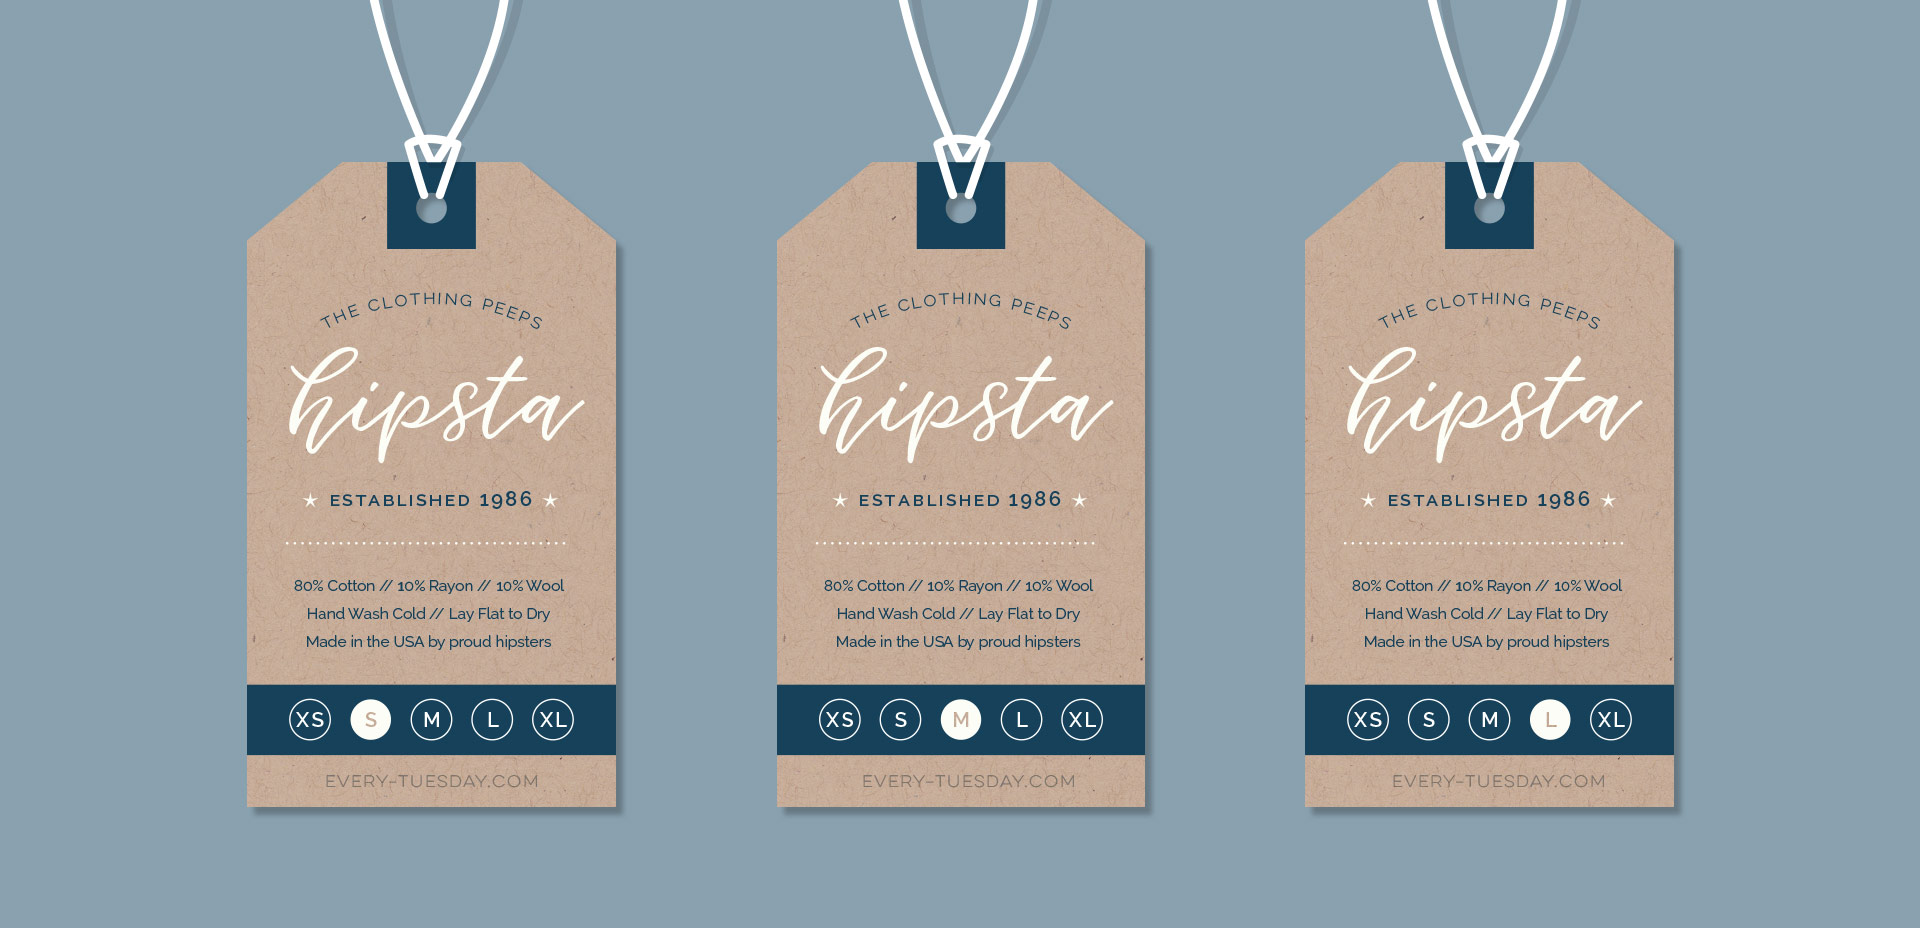
If you love thoughtful graphic design on smaller things too, this tutorial’s for you! In this week’s video, we’ll create a hipster style clothing tag from scratch using just Adobe Illustrator. Get started below!

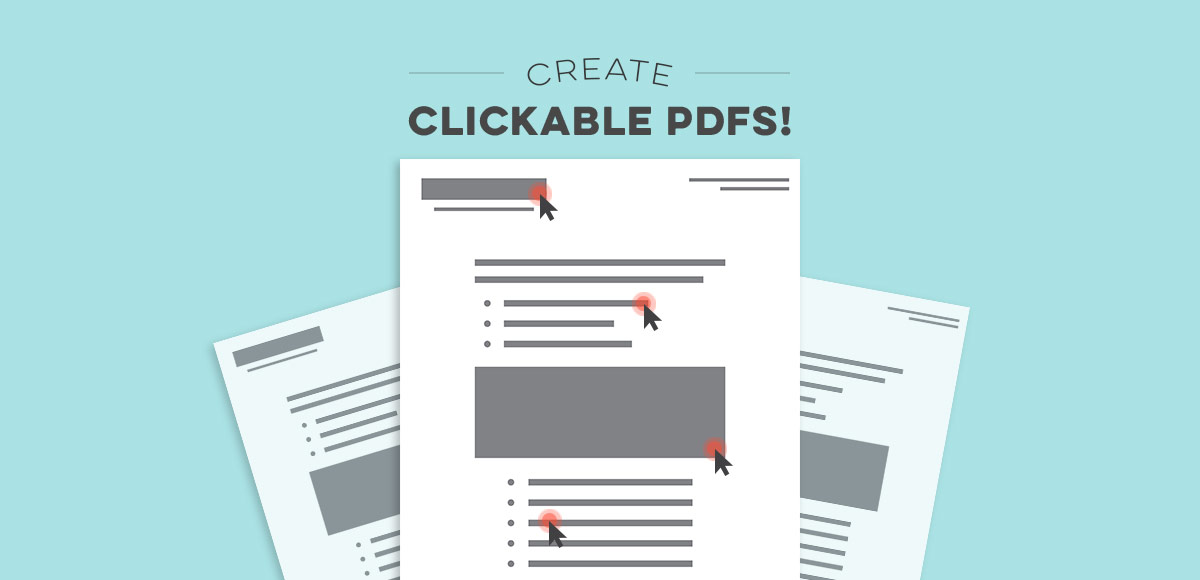
Last week, I gave away a few freebie pdfs and this one was fully clickable. Being able to offer readers a clickable pdf has been a great way for me to share some of my favorite tools all in one place, and in a simple doc you can tuck into your favorite folder(s).

Creating clickable pdfs is also a nice option for sharing resources with clients (and also look like a badass designer at the same time 😉 ). If you sell digital printables on Etsy for example, adding your url at the bottom that is also clickable is a simple opportunity to gain more visitors to your site or store!

For whatever your purpose(s) might be, in this week’s tutorial, I’m sharing exactly how I make mine from start to finish using Adobe InDesign. Read on to see how easy it is!

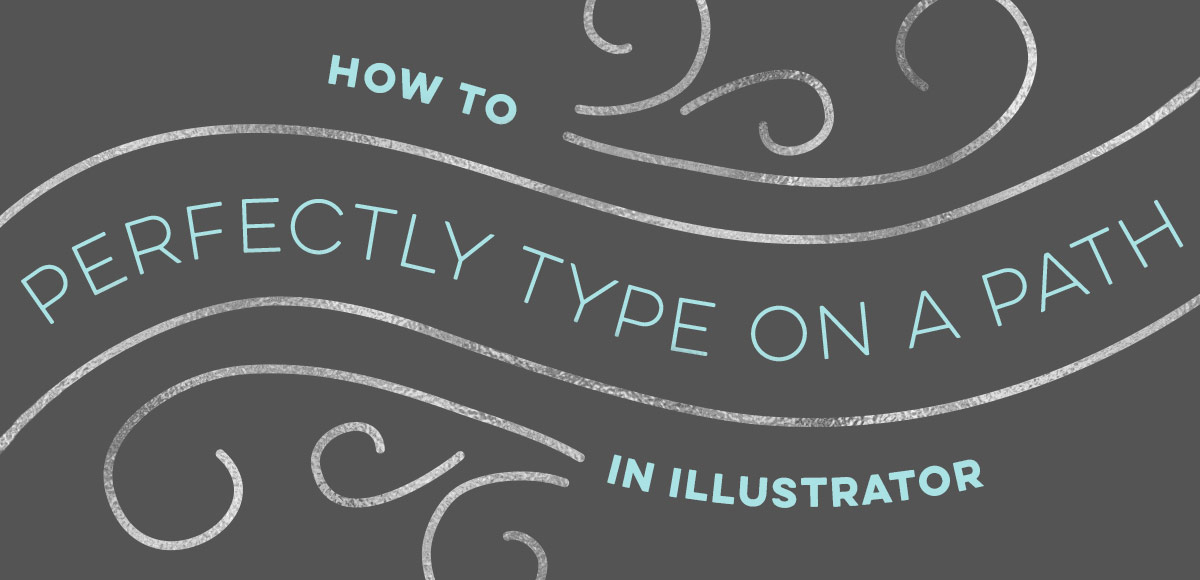
Let’s talk about something that’s massively important, but often gets overlooked: type on a path in Illustrator. You’re probably already familiar with the ability to select any text and go effect > warp, but that makes editing your text later on pretty difficult. The truth is, most of graphic design is experimenting, altering and adjusting. Because of this, the need to go back and adjust previously warped text quickly is a big deal. Luckily, Illustrator makes it super easy to customize text appearance along a path with a few handy tools. Prepare to take your layouts to a whole new level with these options in this week’s tutorial! Oh, and just in case you need to reference these tips later, I made you a free cheat sheet, too 😉

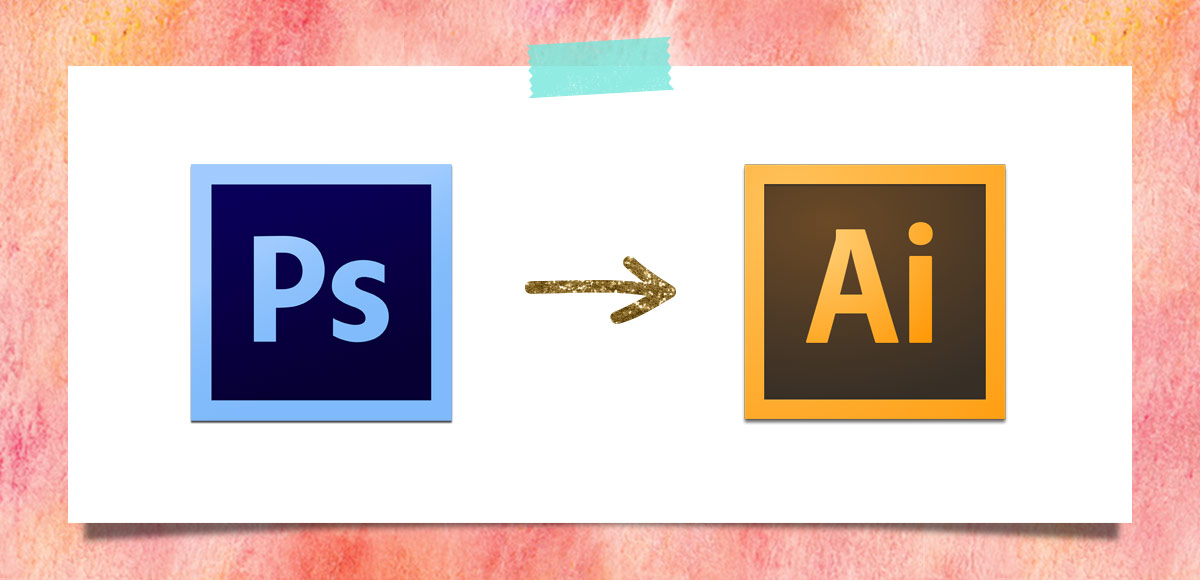
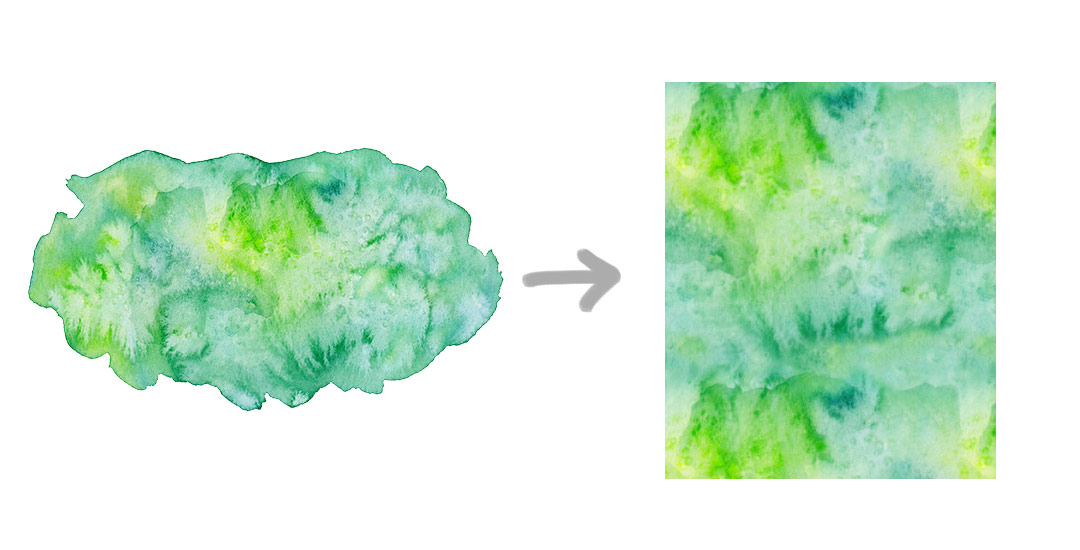
I’ve been creating more patterns in the last year than I ever have before. Patterns are such a wonderful tool to add personality quickly to designs without a ton of effort, or overthinking. One of the best parts: they can be added to backgrounds, text and design elements with just a click of a button in both Photoshop and Illustrator. Say you have a Photoshop pattern, maybe a watercolor texture pattern, like we created in this tutorial. If you’d like to use it as a pattern swatch in Illustrator, how do you convert that Photoshop pattern file? In this tutorial, we go step by step on how to convert any Photoshop pattern into an Illustrator pattern swatch in a few quick steps. Read on for everything you need to know!

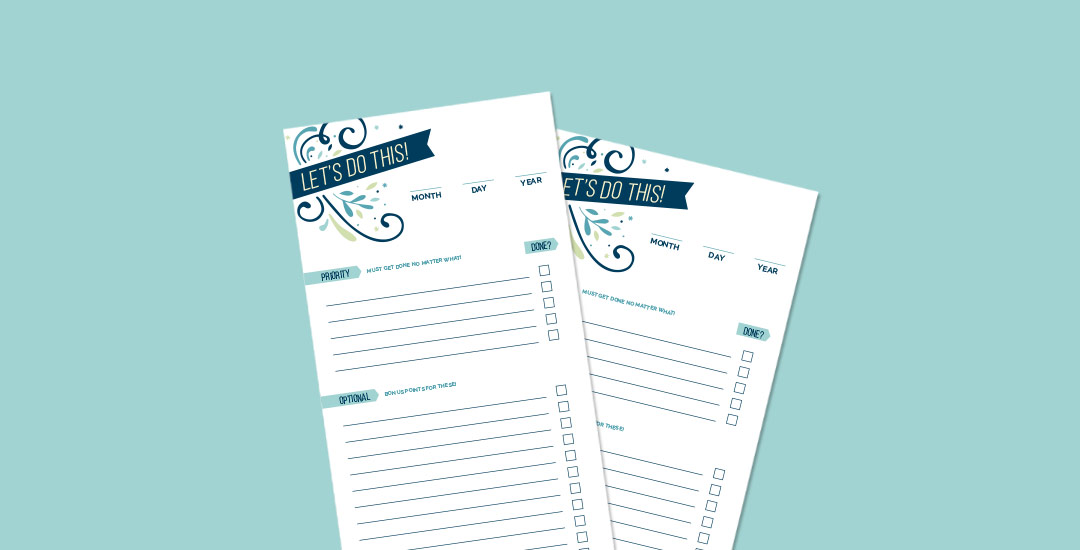
There’s something that feels soooo good about crossing off items on a to do list. Having a written list keeps me on track every day of the week. Most times, I grab a scrap sheet of paper and bullet my to-do’s out, but it’s never quite as satisfying as when they’re written on a custom design. In this week’s video tutorial, we’ll create our own designed to do list from scratch, perfectly prepared for printing in a few quick and easy steps, so you can start crossing items off to your heart’s desire 😉 All of the steps below!

I wanted to change things up a little this week and go super down to basics. The truth is, when it comes to learning, a lot of the times, I’m most inspired by just *watching* the thing happen. Seeing it take place, someone else’s process without all the nitty gritty little details along the way – just the ‘have-to-knows’ first. Maybe you’re like that too. On the chance you are when it comes to lettering, this week I want to go super simple and just share how I would do a basic lettered quote/phrase on the iPad – what I think about as I’m writing, what I’m paying attention to, and what I do to change course when maybe things aren’t going exactly how I like them. If this is something you’d like to see more of, let me know! I want to provide all I can on clearing up anything that might be holding you back 🙂 Full process below – and if you want to go further after this, my Intro to iPad Lettering course is located here. Let’s go!

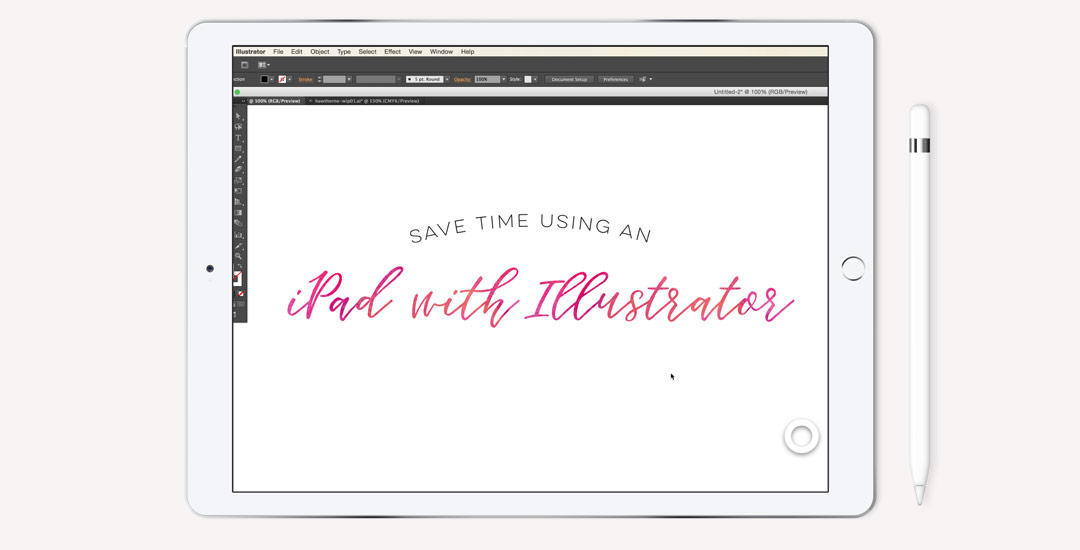
Ok, you guys. This one’s a game changer for real. No kidding, my workflow for editing vectors in Illustrator has been at least cut in half by now using my iPad with the app AstroPad. If you’ve seen this tutorial, or this one using the standard method of Wacom/mouse for edits/revisions, you’re going to love this one. You can also find a list of my top 5 affordable Wacom tablets here if you are interested in using that type of device. If you’ve checked our my Intro to iPad Lettering class, this will take things even further if you’re familiar with Illustrator – you can use this same method with Photoshop, but I find myself using it wayyyy more with Illustrator, so I’m focusing this video there. I spent some serious edit time on this so you could get the full effect of what’s happening on my computer vs. how I’m using the iPad – I walk you through basic edits of a design element and then show you how I used the iPad when I worked on my most recent font, Hawthorne Script. I’m not affiliated with AstroPad in any way, just really excited about how much time I’m about to get back in the future 🙂 See it all below!

To finish up Photoshop month, this week I wanted to share one of my favorite ways to work with watercolors in Photoshop – turning them into seamless texture patterns! If you’ve taken my Watercolor Textures for Graphic Design class over on Skillshare, this week’s tutorial will be a refresher for you, but I’m also sharing how to take the pattern you create and convert it into an Illustrator pattern swatch (check out around 8:20 for that), so there’s something new for everyone 🙂 My newest watercolor texture kit (vol. 3) just went live today, so I’m excited to share textures from the new kit throughout the video – these are my most detailed and colorful ones to date! Click below to get yo’ pattern on!

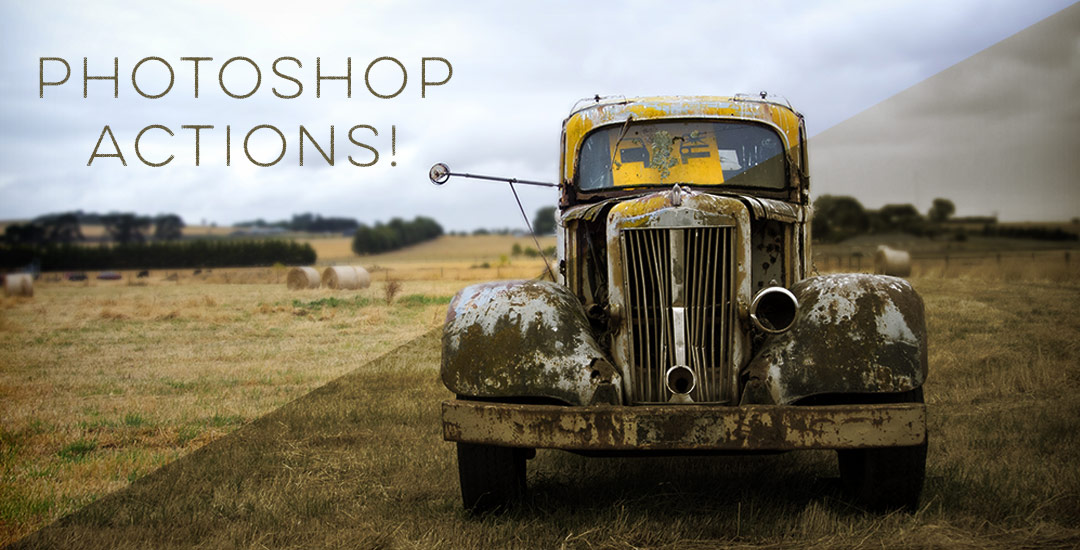
One of my favorite time saving tools when using Photoshop is Photoshop actions. I have used these for batch photo and file delivery to clients in a professional setting, and batch editing when putting together photos for family. Whenever you need to apply (the same) multiple settings to many files or photos at once, you create an action, then just run it for all of the others and you’re done in no time 🙂 It’s basically the closest thing to magic I’ve seen Photoshop do. In this week’s tutorial, we take 3 photos (this one, this one, and this one) and create a unique action for them that sets all of their widths to 1000px and also applies a sepia tone effect to the photos. We apply everything we need to one photo, then hit a single button to apply the same exact multiple steps to the others. It’s cool. You should definitely check out the video below to see!

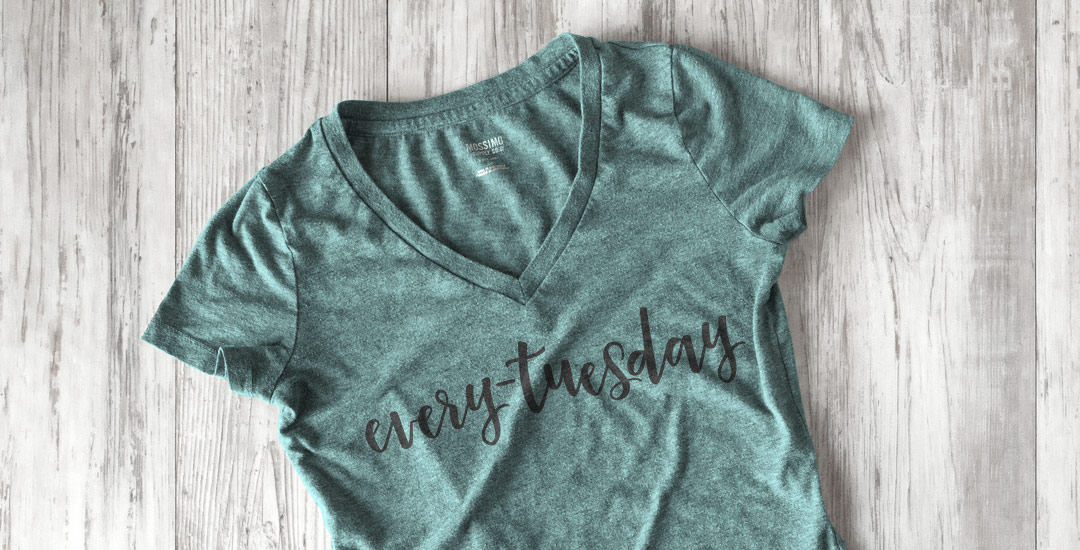
One of the most common types of Photoshop mockups is apparel mockups – most specifically, tshirts. And it makes sense – there are plenty of cool tshirt companies out there who need to quickly show their designs off in a consistent fashion, and photographing each shirt when there are dozens can be very time consuming. Enter the tshirt mockup – one photoshop file that allows you to change the design of the tshirt in just a couple of quick clicks. Setting up the file is actually much simpler than you might think, and in this week’s tutorial, we set one up, step by step in just a few minutes. See the full method of creating your own Photoshop tshirt mockup below!

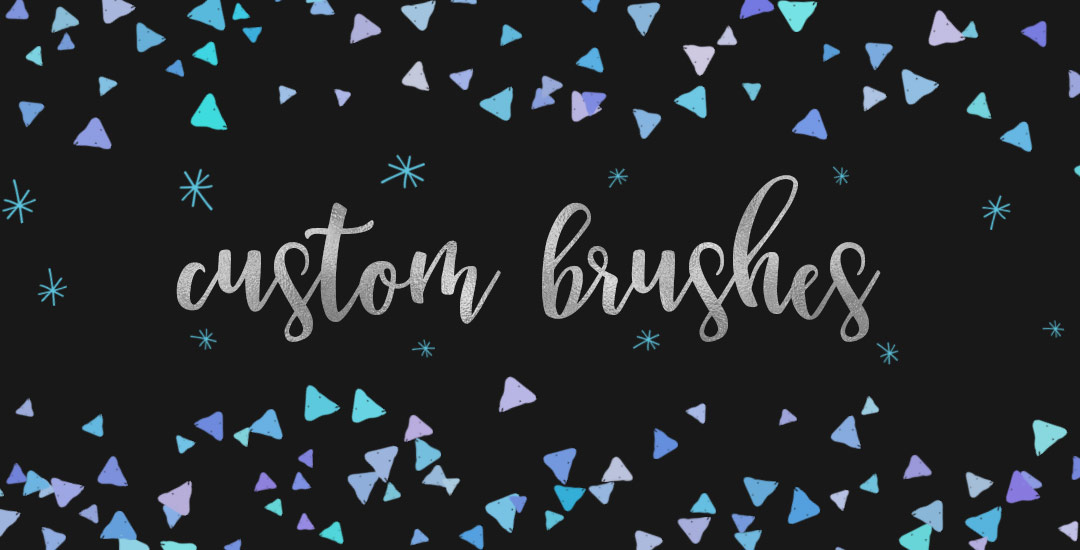
Creating custom brushes in Photoshop is one of my favorite things to do! I love using them for lettering (paired with a wacom tablet), extra decorative elements or just to add a little bit of unique style to whatever I’m making. What’s even better is that they are really quick and easy to make and Photoshop offers a ton of settings to truly make them original. If you’ve checked out my Intro to Photoshop class, you could easily integrate a custom brush to really make your layout special!

In this week’s tutorial, I’ll walk you through what all of those settings do and we’ll create a custom brush in Photoshop together. At the end of the tutorial, you’ll have everything you need to start creating and using your own brand spankin’ new brushes 🙂 Everything is below!

GDPR Icon

Your Privacy Matters

We use cookies to customize and create content that’s most important to you. We’ll never share the info we collect.

View Privacy Policy