HomePosts Tagged "watercolors"

watercolors Tag

If you’ve been here before, you already know I’m crazy about watercolor – traditional or digital. A couple years back, I shared how to vectorize watercolor textures, so today I want to share the process I use to vectorize watercolor lettering. We’ll start by creating our watercolor lettering traditionally using Arteza watercolor brush pens. Next, we’ll scan it into the computer, then finish it up by vectorizing in Illustrator. Read on for the full supply list + tutorial!

I wanted to try something new this week! I thought it would be fun to show how to create something analog/traditionally, then how to recreate that same artwork in Procreate. Two tutorials in one 😉 For this video, we’ll create watercolor block lettering with some traditional methods, then we’ll move into Procreate after. Read on for the full tutorial!

Happy almost-Halloween! With all the fun crafts that Halloween inspires, I couldn’t let it pass without adding a DIY to the mix! It’s been a little while since we had a craft tutorial and this is my biggest one yet. This week, we’ll create some mixed media 3D Halloween lettering you can use as decoration anywhere! We’ll plan it out + paint it with watercolor, add details with fineliner pens AND add some sparkle to finish it off. I’ll take you through my process of painting 3D, pop-off-the-page lettering, as well as how I plan out flourishing to frame the final piece. Read on to create your own mixed media 3D Halloween lettering!

It’s the last Thursday in June, which means it’s time for your free July 2017 desktop wallpapers! This month, I wanted to experiment with a new technique for creating watercolor textures. I picked up these small spray bottles, filled one with regular water and used it, along with this no.4 round brush to create the texture. Each new layer, I let *almost* dry before adding a little extra color to create more depth/vibrancy. It was created using this pan set – I was on the fence when I originally bought it since it’s a little pricey, but it has hands down become my favorite watercolor set (even beating out liquid concentrated!). I scanned the final texture in, made a few minor color enhancements in Photoshop, added July which I hand lettered, and typeset the dates using Miss Magnolia.

The download includes the wallpapers in two common resolutions: 1280x1024px and 1920x1080px, with and without dates. I’ve left the year off of the ‘no-dates’ versions, so you can use it for any July in the future, too!

Happy Tuesday! I’m not gonna lie, this week’s tutorial is one of my favorites. Essentially, we’re combining the watercolor photoshop brush tutorial from a few weeks ago with last week’s ribbon tutorial. And we’re doing it all in Illustrator and keeping things simple and easy 😉 We’ll start by taking some watercolor textures on transparent backgrounds (like these, these or these), and then directly convert them into watercolor texture brushes in Illustrator. You’ll be able to transform the textures into any shape using the brush tool to create beautiful results. Create them once, then save them out for infinite future uses, too! Read on to see how!

One of my favorite parts about this year was experimenting with more art supplies than I ever have before. I definitely didn’t love everything I tried, but I do have a list of favorite art supplies from 2016. I thought it would be nice to compile them this week into one nice, review-like list. If you’re looking to try some new ones in 2017, I hope this will help with the decision making. Reading actual (unbiased) user reviews is always so helpful for me, so that’s exactly what I wanted to offer. See the full list below!

In Tuesday’s post when I introduced my newest course, Brush Lettering with Watercolor, I mentioned that when I started brush lettering with watercolor, it was the first time I had ever used watercolor. This is actually kind of awesome for two reasons:

#1 Since I had no idea what kind or brand of watercolor was best for lettering, I experimented with everything.
#2 If you want to brush letter with watercolor and you’ve never used watercolors before, I’m an example that is 100% ok!

Throughout all of my experimentation, I learned what the 3 best watercolor types are for brush lettering. These are watercolors that blend nicely together, are flexible for being creative and all behave in different ways compared to one another. Yay, options! Read on for examples, my favorite brands, plus links and reviews!

Today is one of the biggest days to date on Every-Tuesday. Our very first long-form, self hosted course (only available on every-tuesday) is officially open today, titled Brush Lettering with Watercolor!

Two years ago, I decided to go all-in with my brush lettering. I tried (what felt like) every supply out there, watched demos, looked at inspiration, read books, you name it. My lettering was improving very slowly, and I experienced a lot of frustration. A lot of overwhelm. A lot of second guessing. It felt like I was doing everything right, but my outcomes just didn’t feel like they were quite there. I started implementing a few new techniques and that’s when things really took a turn for me. I remember the night it finally came together so well, like I had cracked a special code.

I think it’s pretty fair to say that diy embossing is reallllly popular right now. It’s easy to see why; First, there’s watching colorful powder stick magically to invisible ink. Next, there’s witnessing it look completely different (especially metallics) once heat is applied. The results look like they came from a pro print shop! I haven’t come across many videos of a watercolor/embossing combo, so it was time for that to change 🙂 I recently started applying embossing designs to my watercolor lettering and it makes for some really tactile + impressive outcomes.  This week I wanted to have some fun by sharing watercolor lettering with DIY embossing 3 ways. Everything used in the video listed with links below!

I’m so excited to announce that my newest class, Intro to Photoshop in partnership with Brit + Co, is officially available! If you’ve ever wanted to learn Photoshop but felt intimidated, weren’t sure where to start, or just couldn’t find a class that taught more than the interface, this class was made just for you 🙂

We cover all of the basics to give you the confidence to begin editing and enhancing photos on your own, and if you’d like to incorporate some design elements, we go over that, too. This is an online class that you can watch at your own pace (stop, pause, play) whenever it’s convenient for you. We go step by step to create this instagram post together (or use for any purpose you’d like!) in quick and easy, digestible steps.. steps that you’ll be able to repeat on your own for any project of yours in the future.

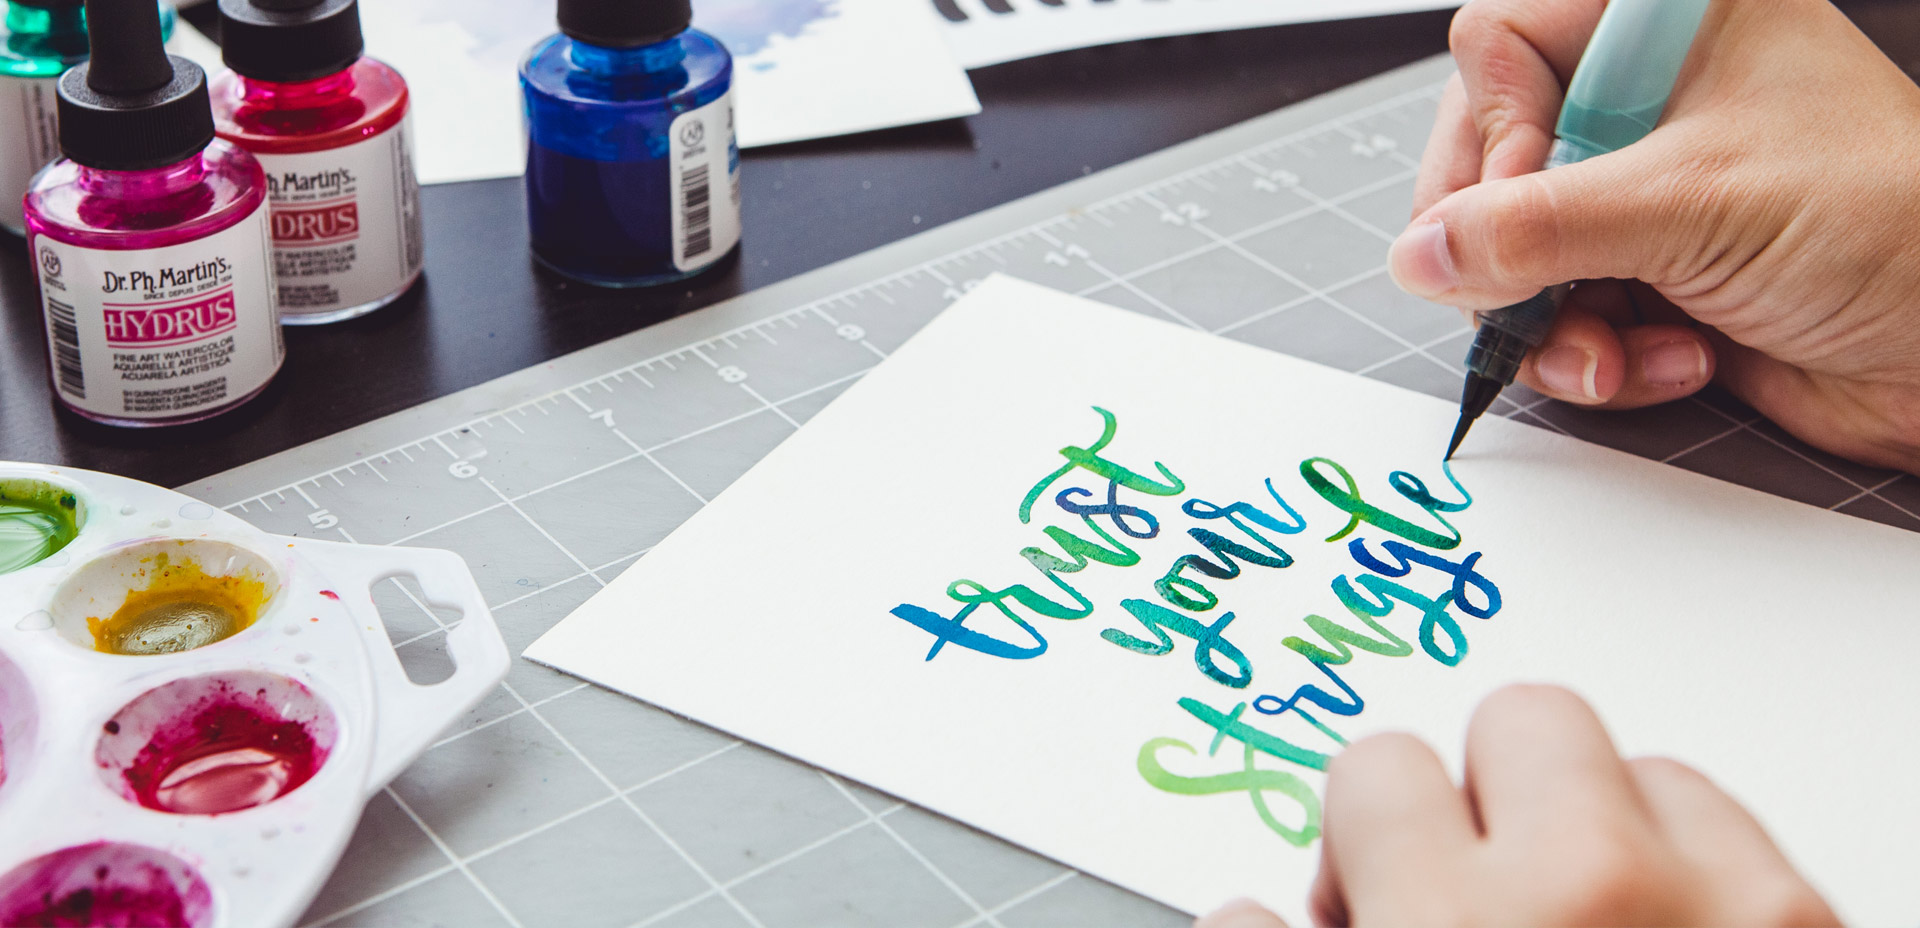
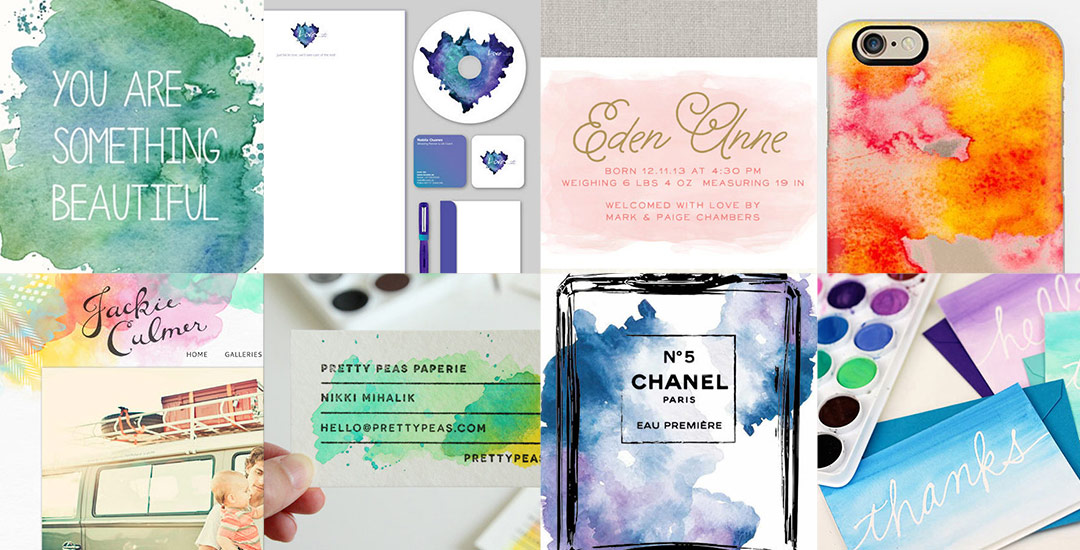
Welcome to Photoshop month! Because Photoshop plays such a large role in taking my designs further, this month I’m sharing some of the tools and tricks I use all the time in Photoshop. This month is specifically in celebration of my new Intro to Photoshop class with Brit + Co which launches tomorrow (today’s the last day to sign up and get 15% off using this link!). In the class, we create this outcome, which uses watercolor textures and lettering, so today I wanted to share some quick tips on adjusting watercolor textures for your specific needs.

I’ve been asked quite a bit lately how to change any watercolor texture to a specific color, so I think this tutorial was meant to be! Say you want to incorporate a custom watercolor texture into your branding – you love the texture, but it’s not the right color for your brand. Or, you just want it to be something else. In this week’s video, I walk you through three methods using Photoshop: changing all of the colors within the watercolor to something different, changing the entire watercolor into one specific color (which is great for branding), and changing just a portion of the watercolor to a different, specific color. All the tips in the video below!

My newest Skillshare class, Watercolor Textures for Graphic Design, went live on Monday, and I’m so excited to share that nearly 1,000 wonderful creatives have already enrolled in the class! Creating watercolor textures from scratch – the act of sitting with a brush in hand, swirling colors together in unique ways – is one of my favorite times to relax and kind of let the art be made without thinking too hard. It’s definitely easy to lose track of time once you get started, but also awesome to then have so many cool new textures to work with. If you’re ever short on ideas on how you can start using those newly created textures, today I’m rounding up a bunch of inspiration with ways to start applying your watercolor textures in graphic design. Read on to see them all!

GDPR Icon

Your Privacy Matters

We use cookies to customize and create content that’s most important to you. We’ll never share the info we collect.

View Privacy Policy